For any functional fitness athlete looking to improve performance, bringing themselves closer to the level of competitors, one must have a sold Ring Dip. Not only is this movement important for improving shoulder, lat and core strength, it is a huge part of a Muscle Up, a movement that separates amateur and elite athletes. Strength in the initial stages of learning the movement can be a big limiting factor, but once the strength is gained, the ability to get the shoulders below plane of the elbows can become the difference between a good or bad Ring Dip rep or a successful Muscle Up. Most people catch the Muscle Up at the very bottom of their Ring Dip, unless you come from a gymnastics background, that is how functional fitness athletes are taught. So improving your shoulder mobility for the bottom of your Ring Dip will not only improve the dip as well as overall shoulder strength, but it carries over to your Muscle Up, which, lets face it, is one of the highly coveted functional fitness movement.
The poses laid out below are a combination of recovery and mobility. These poses stretch all the muscles engaged during the entire Ring Dip movement, to encourage recovery and reduce soreness post WOD. In addition to recovery, poses like Reverse Table Top and Clasp Hand Forward Fold specifically target the Anterior Deltoids, opening up the front of the shoulders to begin to allow for full depth Ring Dips. Increasing mobility in this region will take time, so be patient. Understanding that mobility and flexibility are just as much a part of functional fitness as being able to lift heavy weight, will in the long run, improve your form which leads to improved performance.
Tips and Tricks
* As this is WOD Recover Yoga, it is always best to do these postures after working out. When the muscles are warm, stretching is easier.
* Stay in the pose, breathing in and out through the nose for up to 2 minutes depending on how you feel. Allow the body some time to relax in the posture so that as the muscles relax, you deepen the stretch.
* Props are always encouraged. Use whatever you have, bands, PVC Pipe or towel.
1. Reverse Table Top
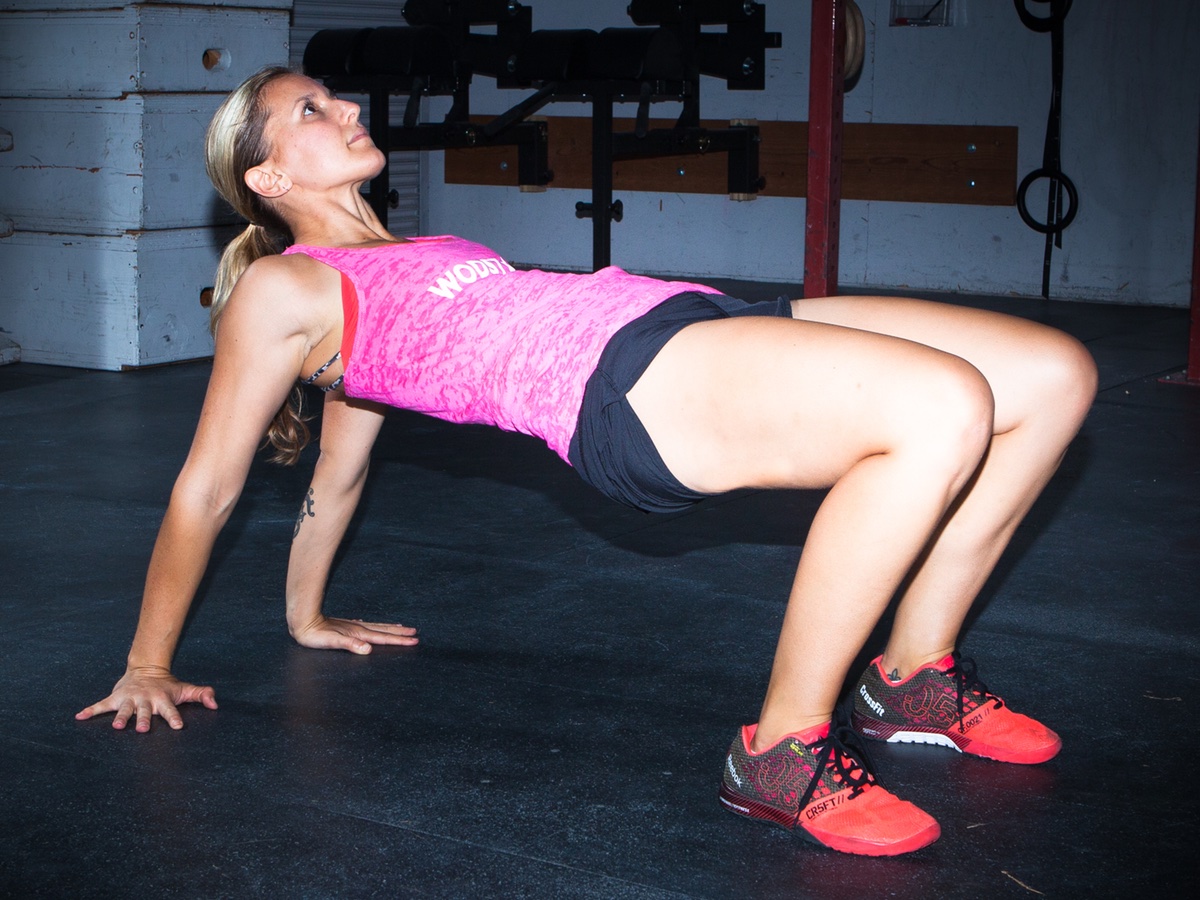
Start seated with your feet on the ground hips distance, toes pointing forward and your hands behind you fingers pointing toward the heels. Slightly turn the hands out so the first fingers point forward. Extend the hips, up grounding through the heels. Squeeze the shoulder blades together. Lift the front of the chest (sternum) up and feel the collar bones widen. Keep head neutral and gaze up. To deepen the stretch, shift the hips forward opening the front of the chest and shoulders.
2. Criss Cross Arms

Start by lying on your belly. Then, sit up onto your forearms. Thread the right arm through, under the left arm and to the left. Then walk your left arm out to the right until you’ve reached your limit. Move the body forward so you are laying more on top of the triceps. Allow the chin to fall towards the triceps as you relax the head down. Slowly breath in and out through the nose, relaxing the shoulders, neck and chest. Switch sides after a minute or so.
3. Gate Pose
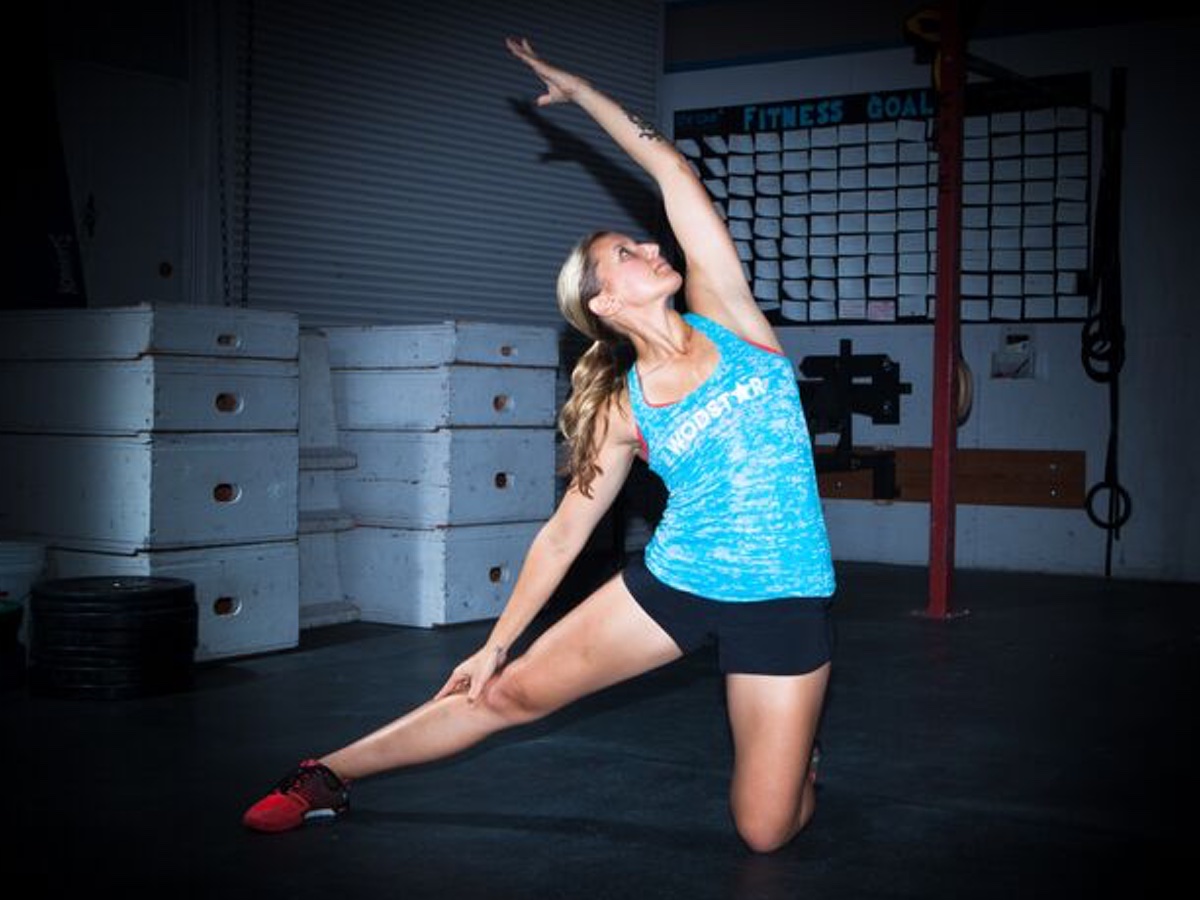
Start in a kneeling position. Extend the left leg out to the left with the left toes pointing forward. Keeping the right hip stacked over the right knee. On your inhale, lift your right arm up, palm facing down. Lengthen your tailbone towards the ground. On your exhale, extend through the side body and lean over to the left. Turn the right side of the chest up, resisting the urge to lean forward. Place your left hand either below the left knee or above it for a light support.
4. Clasp Hand Forward Fold

Start with the feet hips distance. Clasp the hands by the low back. Squeeze the shoulder blades together, keeping a slight bend in the elbow. On your exhale fold forward. Bring the hands up and over the head focusing on the stretch in the shoulders. Breath in this stretch for up to a minute allowing gravity to slowly open shoulders, modify if needed.


Leave A Comment